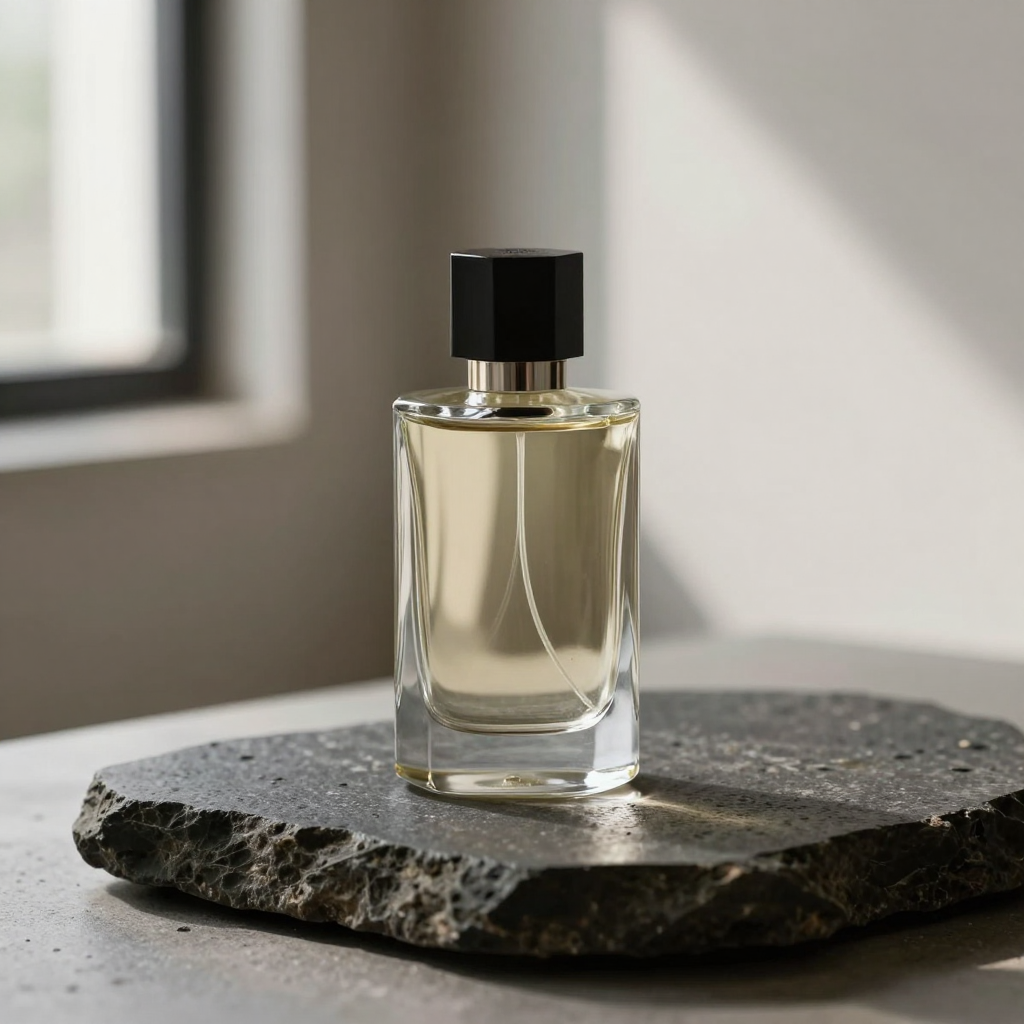
The goal of a first generation is not to include every possible detail. It is to create something you can evaluate. A coherent subject, framing, and lighting direction make it easier to tell whether the result serves your idea and what a useful next change would be.
01 / Images
Start with the destination
Before writing the prompt, decide where the image will be used. A wide editorial banner, a square product tile, and a portrait-oriented post create different framing needs. This is a composition decision, not a promise about which output dimensions a particular mode offers.
Write down the main subject and the job the picture should do. “Introduce this product” is a more useful goal than “make something impressive,” because it gives you a criterion for evaluating the result.
02 / Images
Choose the starting material
Use Text to Image when the scene is open and you want to explore from words. Use an image reference when a visual already communicates part of the composition or subject.
A reference should have a purpose. Decide whether it is about layout, appearance, materials, or mood. Do not expect a reference to preserve every detail while simultaneously asking for a completely different image.
03 / Images
Write a brief with a clear order
Describe the subject first, then the scene relationship, framing, and light. Add style cues only when they clarify the intention. A product on a pedestal in side light is a clearer arrangement than a string of adjectives about quality.
Avoid contradictions such as a tightly cropped full-body portrait or several incompatible lighting directions unless you deliberately explain how they relate.
- Subject: what should the viewer notice first?
- Composition: where is it, and what surrounds it?
- Light and material: what makes it readable?
- Preservation: what must not drift in later edits?
04 / Images
Review the image at two scales
First look at the whole composition. Does the subject read clearly? Is the visual hierarchy right? Is there enough space for the intended destination?
Then inspect important details at a useful size. Look at labels, reflections, repeated structures, faces, hands, and edges where they matter to the purpose. A strong thumbnail can hide details that become distracting in a larger placement.
05 / Images
Make the next change diagnostic
Identify the most important weakness and change one part of the brief. If the object is hard to read against the background, adjust that relationship before changing the entire style.
Once the composition works, use Guided Edit or Inpainting for focused changes. Regenerating the whole scene to remove a small distraction may discard the qualities you intended to keep.
06 / Images
Keep a useful record
Save the source material and the instruction associated with the result in your own production record. A picture without its brief is harder to learn from or reproduce as a workflow example.
Use only references you are allowed to process. Before publication, inspect both image quality and whether the intended use is appropriate for any depicted identity, brand, or copyrighted material.
A direction you can adapt
A sculptural perfume bottle on a dark stone plinth, soft window light, quiet shadows, editorial product photography, refined glass and metal details, premium studio styling, realistic detail, clean composition, no text, no watermark.
Exact recorded prompt for the displayed Studio result. Open its library recipe for the actual quality settings and seed.
Keep this close
A brief worth keeping.
- Define the destination before choosing the framing.
- Give the subject, composition, and light clear roles.
- Inspect the whole image and its important details.
- Use a focused edit when the composition is already working.