Choose a readable source
Use the image that best expresses the composition you intend to keep. Make sure the element you want to change is visible and not lost in a tiny crop.
Images / Guided Edit
Describe the change you want to make to an existing image, without turning every edit into a new composition.
Guided Edit starts with an image you already care about. Use a focused instruction to explore a material, adjust a scene, or revise a visual element. Keep the things that work explicit in the brief, then inspect what changed.
Your inputs, directions, and versions stay together in Studio.
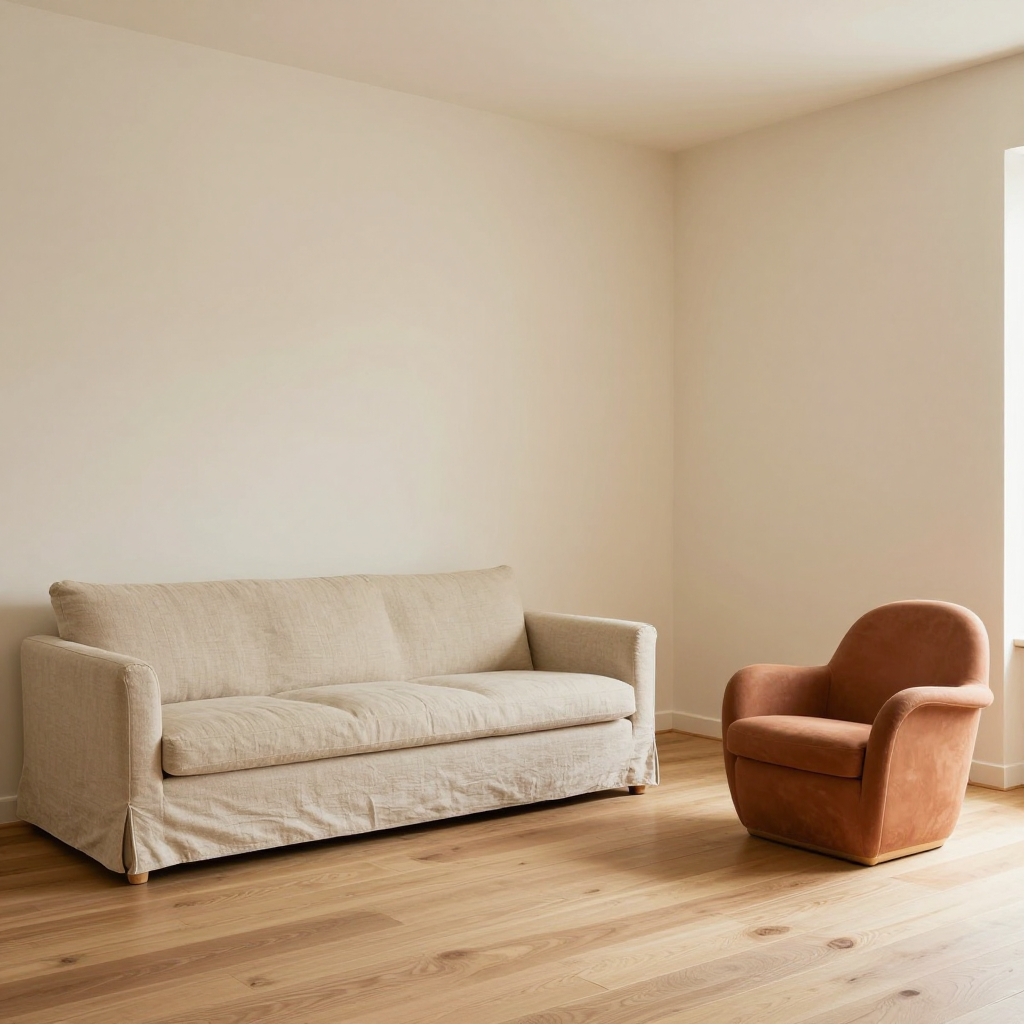
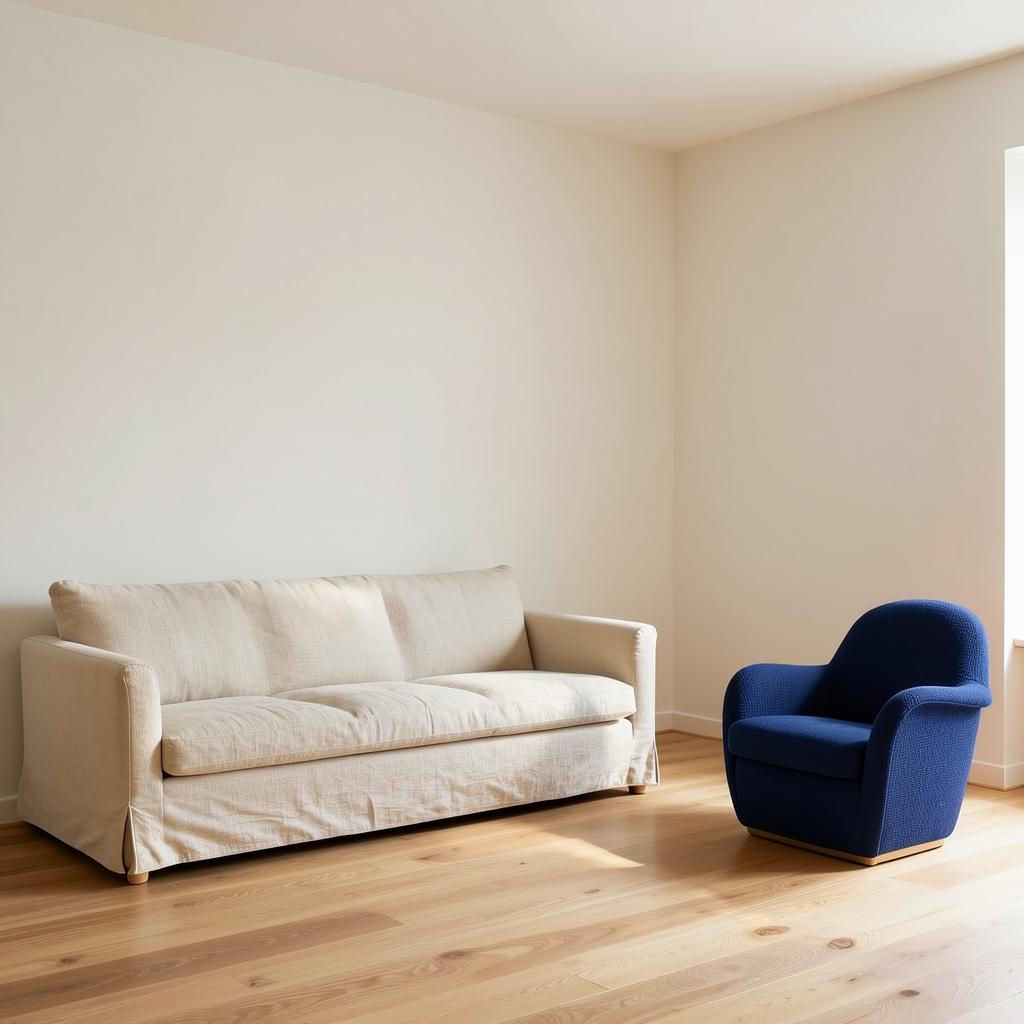
Choose your starting point
A focused written instruction and a text-described inpaint region are two ways to direct a change.
A considered workflow
Good edit instructions have boundaries, even when there is no drawn mask.
Use the image that best expresses the composition you intend to keep. Make sure the element you want to change is visible and not lost in a tiny crop.
Name the object or region and the intended change. Include important preservation instructions such as keeping the camera view, subject, or background unchanged.
Compare the whole image as well as the edited area. Look for unwanted shifts in faces, text, architecture, and lighting before you decide the edit is finished.
Make the brief do the work
Describe the object by its role in the scene, and avoid asking for unrelated changes at the same time.
Change only the terracotta armchair upholstery to deep navy blue woven fabric. Preserve the chair shape, stitching, cushions and position. Keep the cream sofa, walls, oak floor, window, camera view and natural daylight unchanged. Match the existing shadows. No text, no watermark.
Recorded prompt for the displayed Studio edit. Open the matching Prompt Library recipe for its source image, seed and detailed settings.
An edit prompt is not simply a description of the whole picture. It should explain the difference between the source and the desired result. Start with an action such as replace, remove, soften, or recolor.
When an element must remain recognizable, say so. Preserving the subject and preserving every pixel are different expectations; always compare the actual result rather than assuming the instruction was followed perfectly.
A description can be ambiguous when several similar objects are visible. Inpaint Anything uses a separate region description to identify the area to change.
Painted masks can be prepared locally, but the currently connected image worker accepts text-described regions. Keep this separate from Guided Edit and inspect the actual result.
A striking edit can still fail to belong in the original scene. Check perspective, material scale, light direction, contact shadows, and the boundaries of the replacement.
If the instruction contains several goals, revise one at a time. This makes it easier to identify which part of the brief is responsible for an unwanted change.
The useful details
No. Guided Edit expresses the change through an instruction. Inpainting adds a selected region. They can address similar tasks, but they give the tool different information.
That should not be assumed. State what must stay and compare the output to the source, including areas outside the intended edit.
The existing Guided Edit workflow is retained. The new public pages do not replace its backend or modify Studio.
Name the object, its new material or color, and the scene relationships to retain. Mention reflections and shadows when they are important to the result.
Connected workflows
Your next step
Explore the possibilities here, then continue in the existing Studio.