Inspect the source
Decide what is already working and what needs to change. Identify important details that should remain recognizable.
Images / Image Edit
Explore the general image-editing workflow while keeping Guided Edit and Inpainting easy to reach.
Begin with an image and a specific visual intention. Distinguish a change to the whole scene from a focused revision or a mask-based edit, then choose the approach that gives the instruction the right amount of context.
Your inputs, directions, and versions stay together in Studio.
Choose your starting point
Keep the useful distinctions visible rather than renaming every workflow.
A considered workflow
Your intention should determine the starting tool.
Decide what is already working and what needs to change. Identify important details that should remain recognizable.
Use a clear instruction for a semantic change, or the existing Inpainting tool for a spatially precise target. Follow the controls actually available in the connected editor.
Inspect both the target region and the rest of the image. Look for shifts in composition, identity, text, and lighting before continuing.
Make the brief do the work
An edit brief should explain how the result differs from the source.
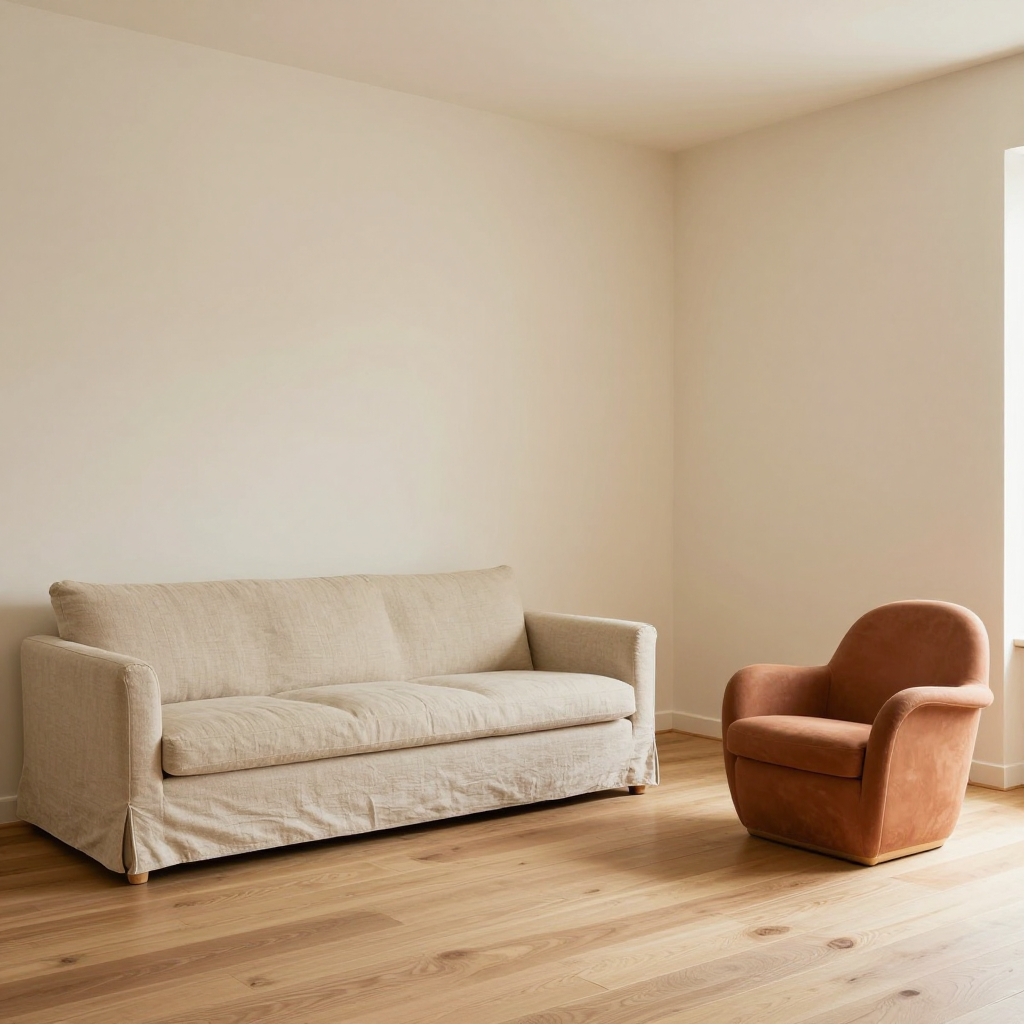
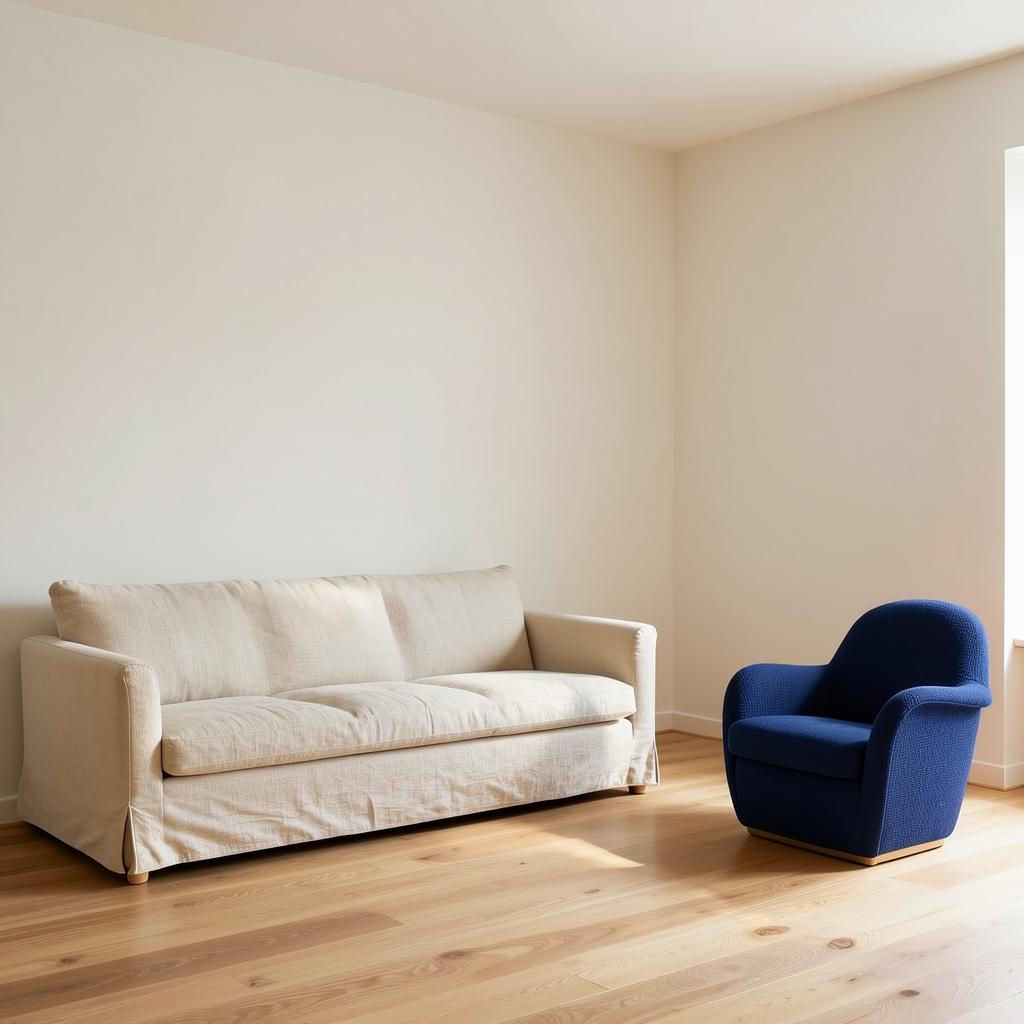
Change only the terracotta armchair upholstery to deep navy blue woven fabric. Preserve the chair shape, stitching, cushions and position. Keep the cream sofa, walls, oak floor, window, camera view and natural daylight unchanged. Match the existing shadows. No text, no watermark.
Recorded Guided Edit prompt for the displayed comparison. The matching recipe includes the source image, fixed seed and detailed quality controls.
Guided Edit and Inpainting already have recognizable roles and separate backends. They stay visible even as the general Image Edit workflow is developed.
This is a new overview, not a migration of the old processing logic. Users should still be able to find the workflow they know.
Start by addressing the most important weakness in the source. Several simultaneous changes make it harder to tell which instruction helped and which caused an unwanted side effect.
After reviewing a focused result, decide whether a second edit is needed or whether a new generation would be the clearer path.
A proper demonstration shows the exact source, the edit instruction, and the actual result. A polished unrelated image cannot prove that an edit preserved the intended details.
The displayed comparison was generated with Guided Edit in Studio. Its source, submitted instruction and actual output are available in the recorded recipe. Image Edit, Guided Edit and Inpainting remain separate entries.
The useful details
No. They retain their own routes and existing backends.
Open this workflow in Studio to prepare its inputs, direction, and project assets. Review the supported options and the service quote before generating.
Choose Guided Edit for a written instruction, Inpainting for a selected region, and the general editor only after its specific capabilities are connected and documented.
No. State what should remain and compare the result to the source. Exact preservation should not be assumed.
Connected workflows
Your next step
Explore the possibilities here, then continue in the existing Studio.