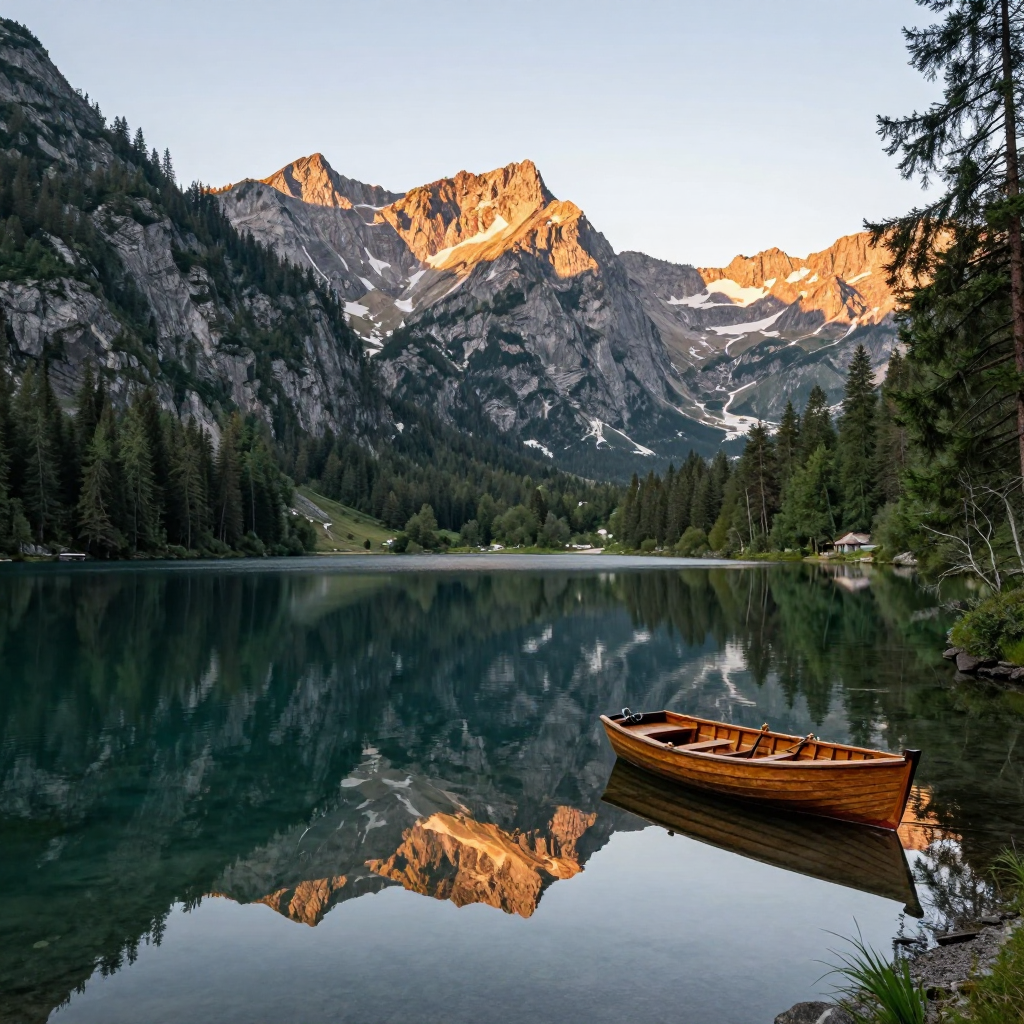
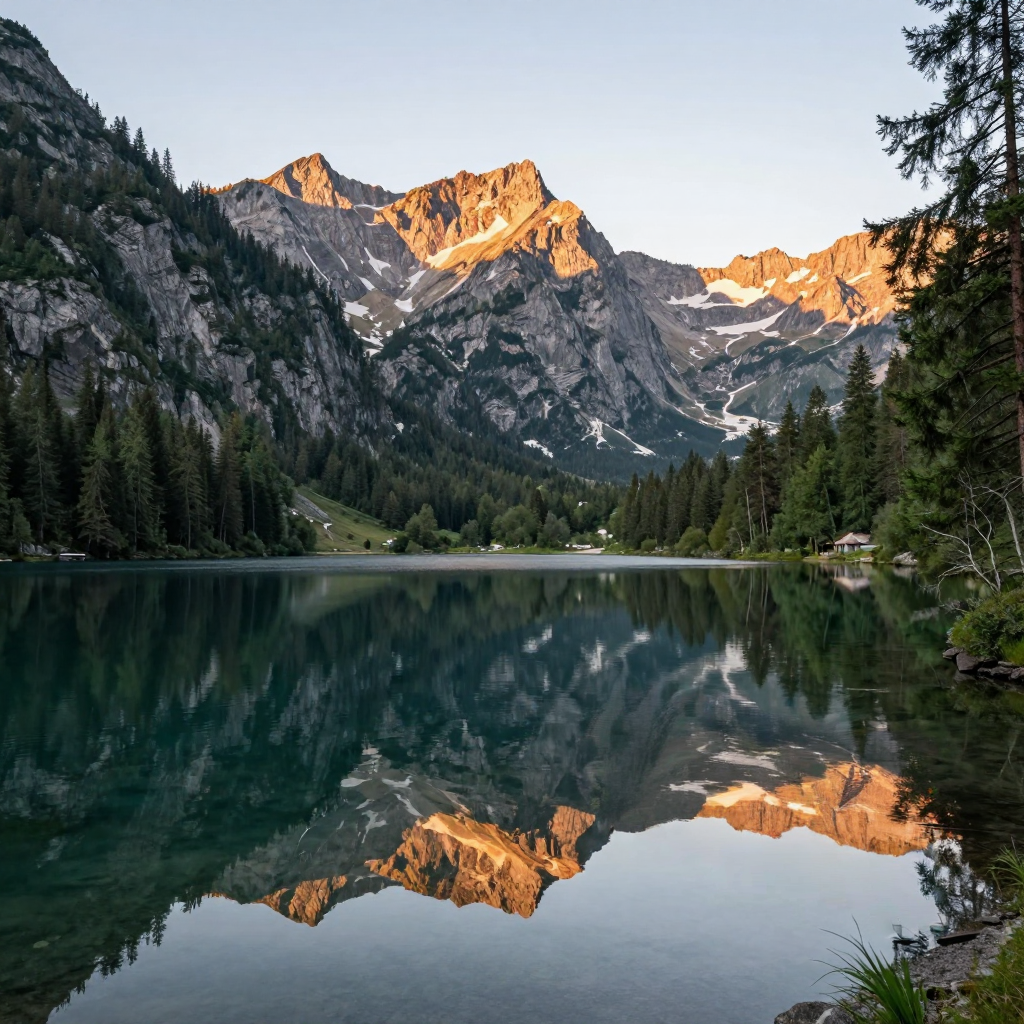
The most important part of object removal is often what remains. A missing object can leave behind an unexplained shadow, a broken reflection, or a surface that no longer follows the scene’s perspective. Treat the task as a reconstruction, not a simple deletion.
01 / Images
Decide whether removal helps the image
Identify why the object is distracting and what the composition should gain when it is gone. Sometimes reframing or a smaller edit is the better decision.
If removing the subject would require inventing most of the scene, consider whether that serves the purpose of the image, especially in a documentary context.
02 / Images
Find the object’s visible traces
Look beyond the outline. Check cast shadows, reflections, contact with the ground, and any background area the object covers.
A remaining reflection can be more distracting than the original object. Make the intended footprint part of the selection and review plan.
03 / Images
Describe the background that should continue
Name the surface or scene behind the target. Water, fabric, paving, and walls need different kinds of continuity.
Mention important structure such as perspective lines or a reflection pattern. Do not ask only for emptiness when the region should contain a readable continuation of the scene.
04 / Images
Inspect repetition and geometry
Generative reconstruction can introduce repeated fragments, inconsistent lines, or an implausibly smooth patch. Compare the replacement with adjacent areas.
For architecture, inspect alignment and perspective. For water, look at reflection and texture. For a plain surface, check light and subtle variation rather than assuming flat color is enough.
05 / Images
Check the whole image after the close-up
A locally convincing patch may still change the visual balance or draw attention because it is too clean. Step back and inspect the composition.
The result should serve the intended image, not simply demonstrate that the target object is absent. Keep the review tied to that purpose.
06 / Images
Be clear about the nature of the edit
The replacement is not a recovered photograph of what was hidden behind the object. It is generated content that needs to be treated as such.
Keep source and result available, and use disclosure appropriate to the publication context. Do not use the edit to create misleading evidence of a real scene.
A direction you can adapt
Uninterrupted calm alpine lake water with clear reflections of the surrounding mountains and pine forest, subtle natural ripples, realistic water texture, soft dawn light, empty water surface throughout the foreground.
Recorded replacement prompt. The successful Region to change is “boat. reflection of the boat.” Open the matching library recipe for the source image and detailed settings; the worker chooses a random seed.
Keep this close
A brief worth keeping.
- Review the object’s shadow and reflection, not only its outline.
- Describe the background continuation.
- Inspect geometry, texture, and overall composition.
- Do not confuse a plausible replacement with a factual reconstruction.